
Tips for Photographing Your Artwork
Below are suggestions on how to take good photographs of your art. The three most important things are:
If you need to crop or straighten your photographs, consider using one of the free image editors on the internet such as PicResize
Read on...
- Make sure your painting is straight in the view finder.
- Light your work properly.
- If at all possible, do not photograph your art under glass. If your piece is already framed under glass, use the technique shown in the YouTube video at the bottom of this page.
If you need to crop or straighten your photographs, consider using one of the free image editors on the internet such as PicResize
Read on...
GET THE ANGLE RIGHT!

LIGHT YOUR WORK PROPERLY!
- Good lighting will help sell your art.
- If you are shooting your work indoors, do so in a room with plenty of windows and natural light.
- Try photographing your work outdoors when it is cloudy or overcast, as indirect sunlight provides the best lighting. Natural light can be a beautiful way to photograph your work as long as it is indirect.
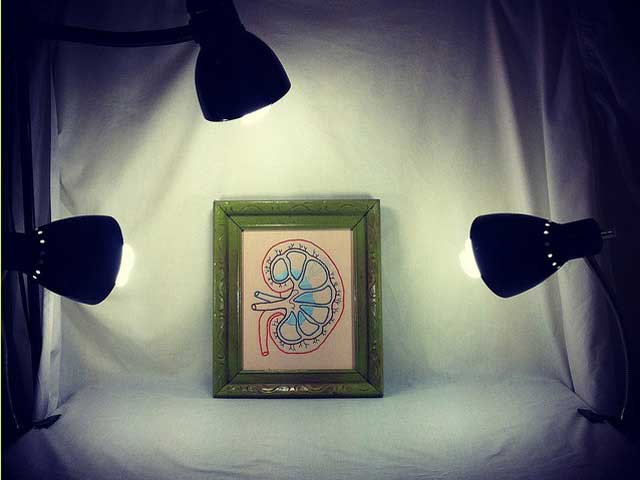
- If the weather isn’t cooperating, or if you are up against a deadline, you can set up a simple lighting kit. All you will need is two lights at a minimum for 2-dimensional work. We have used lighting stands that you often see in dorm rooms (the ones with three adjustable bulbs) or clamp lights. Place the lights halfway between the camera and the canvas at a 45-degree angle pointing toward the wall (this will help eliminate shadows and “hot spots” on the painting). If you happen to have umbrellas for your lights, use them!
- If you don’t have professional grade lighting kit, you can easily hack diffusing the light with a white sheet or white paper between the lights and your work. This helps to evenly distribute the light. Alternatively, a few sheets of white foam core can be set up to simulate a “raking light” effect where the lights are pointed at the foam core and the whiteboard reflects the light back at the piece.
- Try using a white sheet as a background for your art for better results. Or, consider using a white, tri-fold presentation board as a background for your art. Here's one on Amazon.
Reduce Glare When Photographing Art Under Glass
Sometimes your piece is already framed under glass.
There is a way to reduce glare if you have to photograph such a piece. Watch this handy trick on YouTube:
https://www.youtube.com/watch?v=2msqA-LvfAM
Sometimes your piece is already framed under glass.
There is a way to reduce glare if you have to photograph such a piece. Watch this handy trick on YouTube:
https://www.youtube.com/watch?v=2msqA-LvfAM
